
There are a wide variety of testing frameworks out there for javascript — and many of themI quite enjoy writing tests for node apps with Mocha. Give it a shot if you find Jest is not your cup of tea. are quite good. However I’ve decided to build this lesson out with Jest due to it’s focus on easy mocking and it’s easy compatibility with React—let’s take a look at what it has to offer.
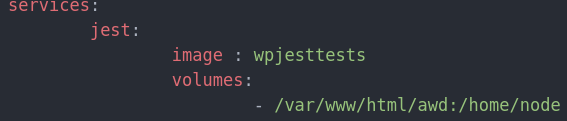
By default, Jest looks for the __tests__ directory. So we’ll store our tests there and then map our docker-compose.yml to the node user’s home directory.only necessary if using the docker environment, if using globally installed Jest, skip this step.
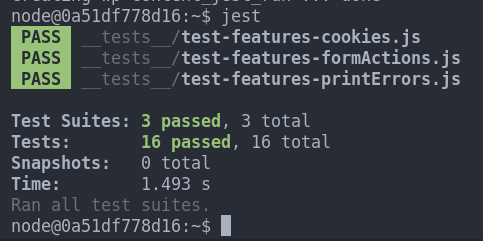
Within our docker’s Jest environment, the command to run our tests is simply “jest”.
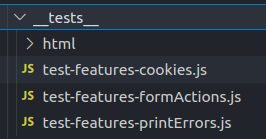 You’ll note the additional ‘html’ subdirectory. It’s very common for me to setup the same DOM elements in my jest tests. I store them here for easy reuse.
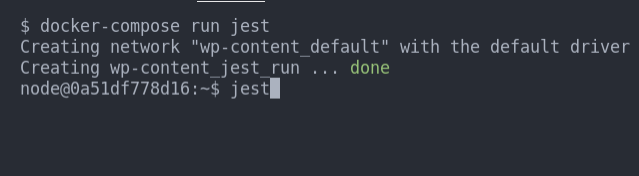
/**
 * @jest-environment jsdom
 */

const $ = require('jquery');

beforeEach(()=>{
document.body.innerHTML =(`
<body>
<div class="tab-link" href="#selection"></div>
<div id="selection">
    <div class="dat-load-ajax-wrapper">Codes!</div>
</div>
</body>`);

global.datGlobal={
preloader:'image.img'
}
});

test("Tabs hit ajax with shortcodes", ()=>{
const {setupAjaxTabs} = require('../src/ajax-tabs.js');
$.ajax=jest.fn();

setupAjaxTabs($)
$('.tab-link').click();
expect($.ajax.mock.calls.length).toBe(1);
expect($.ajax.mock.calls[0][0].data.content).toBe("Codes!");
})
Each test is it’s own JS file. Similar to PHPUnit tests, we can use fixtures for beforeEach and afterEach test.
We call each test with a call to the “test” method. Test assertions are typically done with calls to “expect” and methods for checking matches.
/**
 * @jest-environment jsdom
 */

const $ = require('jquery');

beforeEach(()=>{
document.body.innerHTML =(`
<body>
<div class="tab-link" href="#selection"></div>
<div id="selection">
    <div class="dat-load-ajax-wrapper">Codes!</div>
</div>
</body>`);

global.datGlobal={
preloader:'image.img'
}
});

test("Tabs hit ajax with shortcodes", ()=>{
const {setupAjaxTabs} = require('../src/ajax-tabs.js');
$.ajax=jest.fn();

setupAjaxTabs($)
$('.tab-link').click();
expect($.ajax.mock.calls.length).toBe(1);
expect($.ajax.mock.calls[0][0].data.content).toBe("Codes!");
})
With the @jest-environment jsdom we can load use and interact with DOM elements and events within the Node environment in the same manner we’d expected them to behave in the browser.
test("Tabs hit ajax with shortcodes", ()=>{
const {setupAjaxTabs} = require('../src/ajax-tabs.js');
$.ajax=jest.fn();

setupAjaxTabs($)
$('.tab-link').click();
Where jest really shines is with the simplicity of mocking functions. Note here how we can easily overload jQuery’s ajax function with a jest mock.
Then, using expect calls, we can test how many times the mock was called, what data was passed and additional information regarding the codes provided to the method in the .mock property
expect($.ajax.mock.calls.length).toBe(1);
expect($.ajax.mock.calls[0][0].data.content).toBe("Codes!");
Jest also makes the matter of generating code coverage trivial. Just add the –coverage flag to your tests and get an informative report right in the console.
$ jest --coverage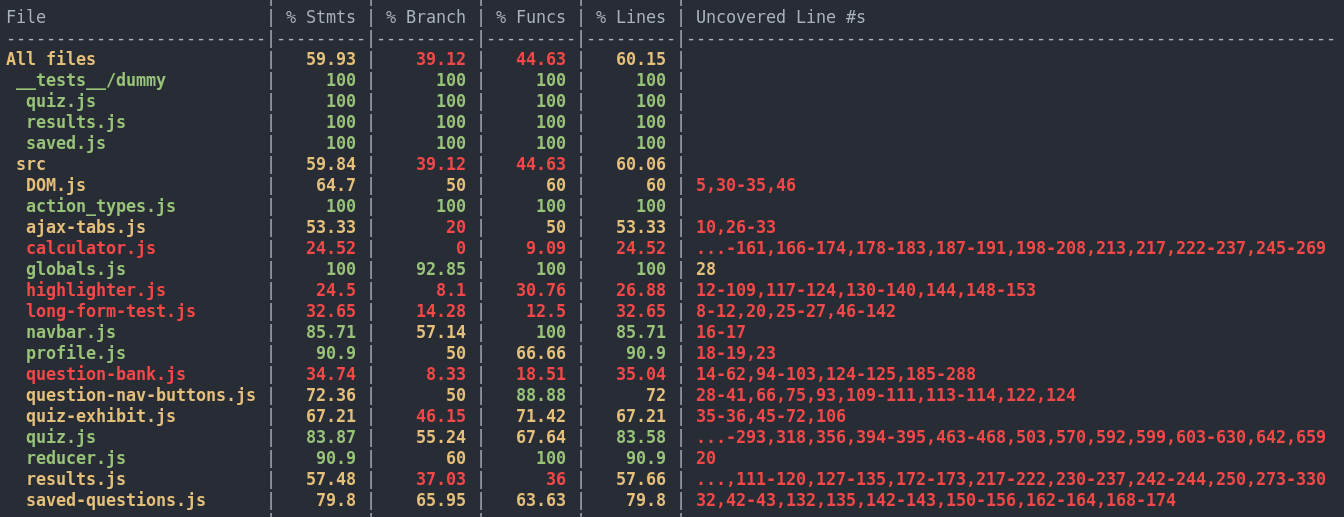
This is has been a very simple overview of testing with Jest—and that’s the beauty of it, Jest’s focus on simplicity means you can get started testing with just the basics. So dive in and start getting some test coverage on those enqueued scripts!
Keyboard shortcuts
Down arrow Next slide
Up arrow Previous slide
Color codes
Hover over text more additional info